Sunday, April 6, 2014

Part 4 - Ajax Home Automation...

Now the final part is downloading Ardumation Android App from Google Play Store.

Ardumation

The usage is quite simple and can be explained using simple steps.


  1. Download and open the app.
  2. Select a device manufacturer for the T.V. , Media Players(DVD, Blu-Ray..A. V. Receivers), A.C. and Others(If any) from the T.V. tab and do the same for D.T.H.(Digital Satellite Receiver) tab respectively.
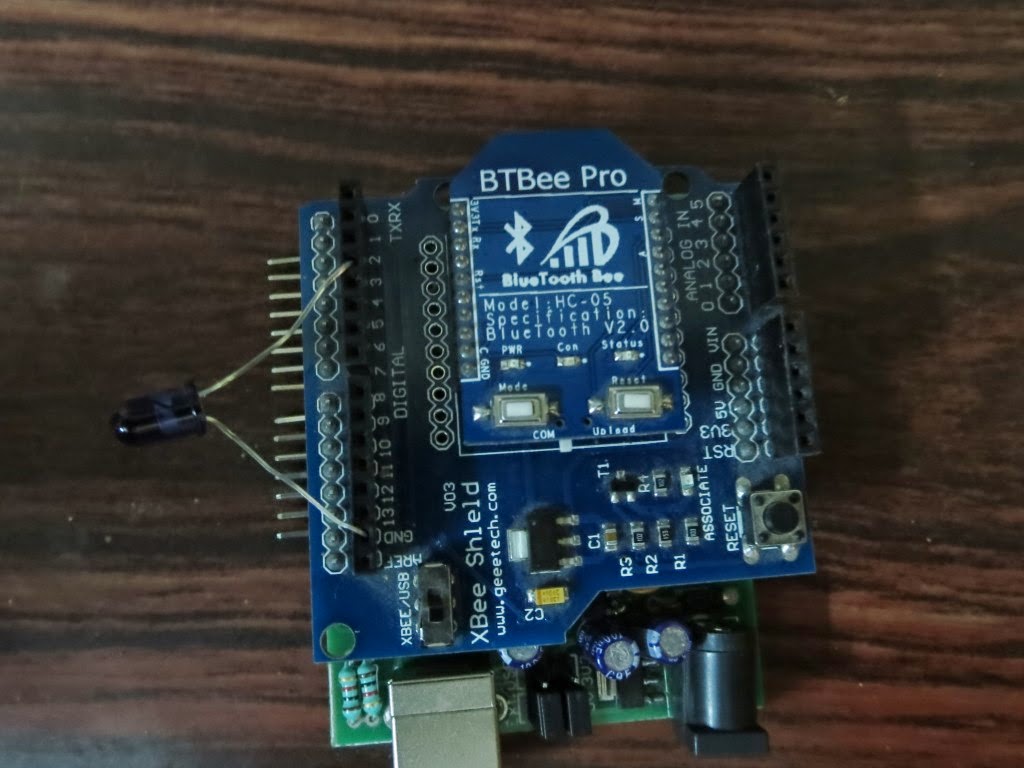
  3. Connect your smartphone to the Arduino, by pressing Menu key and choosing connect. (Default pairing key is 1234, if you haven't configured your HC-06/HC-05 Bluetooth module) .
  4. The latest version has user enter their custom D.T.H. manufacturers for those whose devices names aren't listed in the D.T.H tab. 
  5. The last tab simply controls the home switches you configured.

Watch the YouTube video regarding how to connect and the usage of this App.


Please leave any suggestions, comments and feed back on my blog , email or on Google Play Store.

Part 3 - Rebuilding from scratch..

Now after recording every button of each of the remotes that you have, you need to Edit the ardumation_dummy_sketch program and upload to your Arduino Board just like you did previously.

Start assembling your components in the shown order....

1. The Arduino Board (I have Freeduino...)


2. The Arduino Bluetooth Shield..


3. Bluetooth Module (I have BTBee)

4. Combine the shield with the Arduino...

5. Add the Bluetooth module on top of the Bluetooth shield..


6. Now add a Infrared LED to the Bluetooth shield. Connect the positive(Long lead) pin on the LED to No. 3 pin (Pin 9 for Arduino Mega) and the negative(Short Lead) pin to the Ground.


7. Finally, connect the usb cable to the Arduino, and upload the program that you downloaded from Tech.Madmax.

Note : If you want to Upload any program to Arduino, be sure to remove Bluetooth module.

8. Connect the Relay module to the Arduino using jumper wires, connect the +5V, GND from Relay Module to the +5V and GND of the Arduino respectivly. Next connect the numbered leads to the Arduino's digital pins(2, 4, 5, 6, 7, 8, 9, 10, 11, 12, 13.)  in any order you like.

Thursday, March 20, 2014

Part 2 - Wiring and Writing ..

First thing you need to is install your Arduino software (I have 1.6), but before that you need to download Java SDK in your computer to run Arduino IDE.

Open Arduino by clicking the Arduino icon.


Before opening the arduino window, be sure to connect your Board using USB B-type cable supplied with it. The moment you connect windows starts installing drivers for a comm Port and note the correct comm port number by going to the

My Computer-->properties-->Device Manager--com ports

Click to see the Comm Port, and note it down.

Now coming back to the Arduino window, select the Tools menu-->select the appropriate Board name, i.e. UNO or Leonardo, or Mini, Mega..etc.

Select the port no. on which your board is on.

Now install the IRremote Library by selecting the sketch menu--> Add Library. Select the zip file that you downloaded previously(copy from phone memory) and restart the Arduino software.

Before you upload program and test you need to wire IR receiver to record all the buttons in your remote/remotes.

Connect the IR Receiver(TSOP 1738) as shown in the figure to the respective slots in the arduino board.


First to the Ground, second to the +5V and the last one to the Analog pin A0.

Connect your board and select the File >  Examples > IRremote > ardumation_dummy_sketch file.

There you go, upload this program by selecting the second icon below the menu bar.

At this point your sketch is empty, you need to record IR signals from remotes and copy the result in the sketch again.

Now get a remote and open serial monitor on the software window(ctrl+shift+m), by clicking the zoom icon to the far right.

Start recording by pressing each button on the remote. Note down(Copy paste from the serial monitor window) each and every  IR signal properties such as


  1. Name of the protocol
  2. No. of bits
  3. Hexadecimal Address
Now fill in the codes in spaces provided in the sample file. For example paste name of the protocol, no. of bits and hexadecimal addresses for the power button you pressed in your remote to the respective space provided in the dummy file i.e. (in between case xxx and break).

Code may be of the form, Ex. irsend.sendxxxx(0x000000, xx);

Do that for all the buttons in the dummy file with the infrared codes you just got from your remote.

OK That's it.

Part 1 - Harware / Software Required

Welcome to the Ardumation - wireless home automation tutorial.

I made a simple home automation project using Arduino, applying bluetooth wireless capability to it, thereby creating a easy to use wireless home automation that controls your TV, DTH Settop Box, Music / DVD / Blueray player, A.C. and your home light, fan....etc

Prerequisites for this Project:

1. Basic knowledge of C, Java(SDK Installed on PC), and (Arduino installed on PC) even if you dont know dont worry there are plenty of ready made applications available on NET.

2. Next comes the hardware part, you''ll be needing an Arduino Board (mine is Uno rev 3).

There are several variants available, as the blueprint of Arduino is open source you can even make your own Arduino. Most popular are Arduino Uno, Arduino Mega, Freeduino Uno...etc

Basically an Arduino is a very popular and easy to use programmable board for creating your own projects. Consisting of a simple hardware platform and a free source code editor with an easy “one-click compile/upload” feature, it’s designed to be really easy to use without being an expert programmer.

Arduino is also the most popular microcontroller board for advanced users and all kinds of more ambitious projects. It’s been used to make robots, home automation gadgets, automotive projects, for sensing and controlling lights, motors, locks and servos, sound and video, interactive objects like animated sculptures, toys and games, radio links and just about anything else you can dream up. It can even be a web server and connect your projects to the Internet. A huge number of example projects (including both hardware designs and software source code) are available to help beginners get started.


You also need a Plug-in expansion boards called “arduino wireless bluetooth shield” that add extra wireless functionality to your home automation project.


To your shield we need an Arduino compatible Bluetooth Module or XBee's as they are known(HC-05 ), you can buy them online or search your nearest store.


A 6 Volt relay board for the switches in your home, depending on the number of switches you wish to control, normally they are available as 1,2,3,4,8,16 relay board.


A 10-12 female-male breadboard jumper wires, and an USB-B type cable for connecting Arduino to your computer.


A 7 - 9 Volt 500 mAh -1 Amp AC to DC adapter.


Other than the above mentioned hardware, you also need to have an Infrared LED, Infrared Receiver Module TSOP 1738.


And ohh.. I forgot to mention, dont forget to download Arduino software, and copy IRRemote Library from your phone's memory(Copied automatically when you install Ardumation Android app).